
In Part 004 we will look at five Battlefield Tactics cards that would compliment the example Star Marine army we put together back in issue 001. Here’s the army list to refresh that memory!:
My First Star Marine Army
Formation 1 (30 pts)
- Supreme Commander: 1 × 30 pts (Hero Tokens: 5)
Formation 2 (21 pts)
- Marines: 3 × 7 pts
Formation 3 (18 pts)
- CQ Marines: 2 × 9 pts
Formation 4 (13 pts)
- Land Skimmer: 1 × 13 pts
Formation 5 (18 pts)
- Dominator MBT: 1 × 18 pts
Hero Token Summary
- Hero Tokens from Units: 5
- Additional Hero Tokens: 0 (0 pts)
- Total Hero Tokens: 5
Total Army Points: 100
The Grand Plan
This army is very flexible, with some fast moving assault capability in the CQ Marines, a heavy-hitting MBT, and an effective raiding unit in the Land Skimmer. A good strategy would be to send the CQ Marines in early to tie up enemy ranged firepower, but they’ll need some tricks up their sleeves to guarantee survival into turn 2. Will the enemy firepower is distracted we can move the Supreme Commander and Marines forward to claim the enemy objective. The Dominator MBT can sit back and pick off targets from afar, before moving in to support other units in engagement. Meanwhile, the Land Skimmer can dart around and blast isolated targets with its powerful Microwave Cannon. This unit is also excellent at supporting engagements due to its speed and ability to jump over terrain.
Card 1: Smoke Grenades
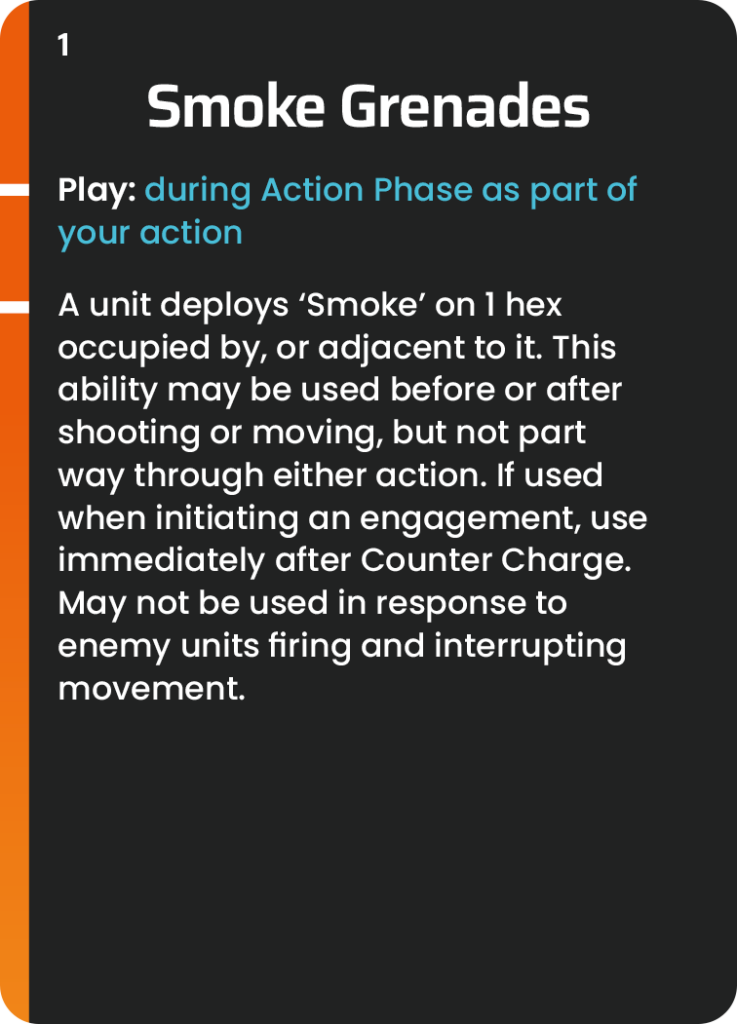
Smoke Grenades are perfect for shielding your units from enemy ranged fire. They can be thrown between you and an enemy ranged unit to stop it cutting you down as you move in, or they can be thrown during an engagement. If your units need to engage in Close Combat without coming under supporting fire from enemy units you could throw Smoke Grenades on your own hex, or you could throw them on an adjacent enemy hex. This is especially useful for CQ Marines or Supreme Commander which are likely to come under heavy fire. Another great way to use Smoke Grenades is to provide cover for your expensive armour. For example, you could shoot with the tank, then pop smoke on the hex it occupies to shroud it from return fire. Take time to consider where you place Smoke Grenades, as it’s easy to impede LOS for your own tanks by mistake!
Card 2: Dash
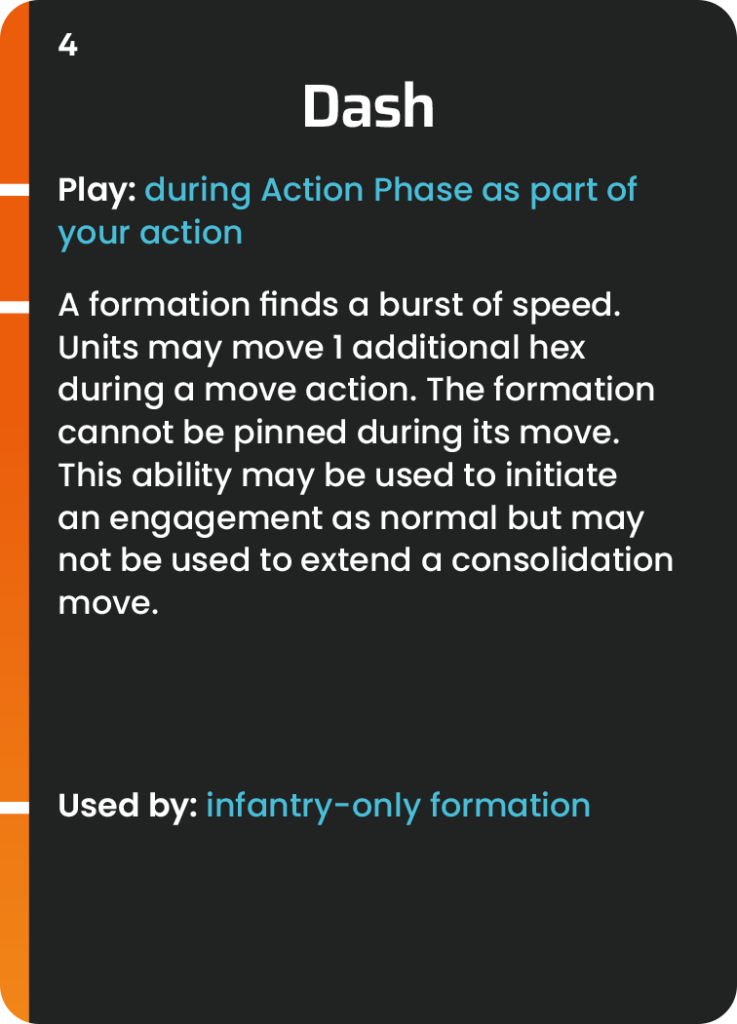
Dash is a deceptively good card. 1 Additional hex of movement might not seem much, but this will get your Supreme Commander into enemy lines on turn 1 if he is on Move It! orders, thus taking the pressure off your CQ Marines and putting a whole lot of pressure on the enemy. With this example army you would often use Dash in this way, but there’s no reason why you couldn’t hold it back for use with either the SC or Marines to grab an objective later on.
Card 3: Medic!

Medic! is a great card that can be used in many situations. In our example Star Marine army, it would likely be used in two ways. The first is insurance for your Supreme Commander. With Medic! in your hand, you can safely elect to roll for many of the saving throws required when your SC gets hit, instead of using valuable Hero Tokens to automatically save. If you roll and fail a save, play the Medic! card and take advantage of the +2 save modifier. Since the Star Marine SC has ‘Indomitable Save’ which can never be worse that a 4+, this card will make the re-roll 2+ at worst! Once the card is played, you can revert to using Hero Tokens to automatically save if you wish.
The second way to use this card is to save your valuable CQ Marines as they rush into enemy lines early. Hopefully it will give them just enough staying power before the rest of your army catches up with them.
Card 4: Battlefield Support
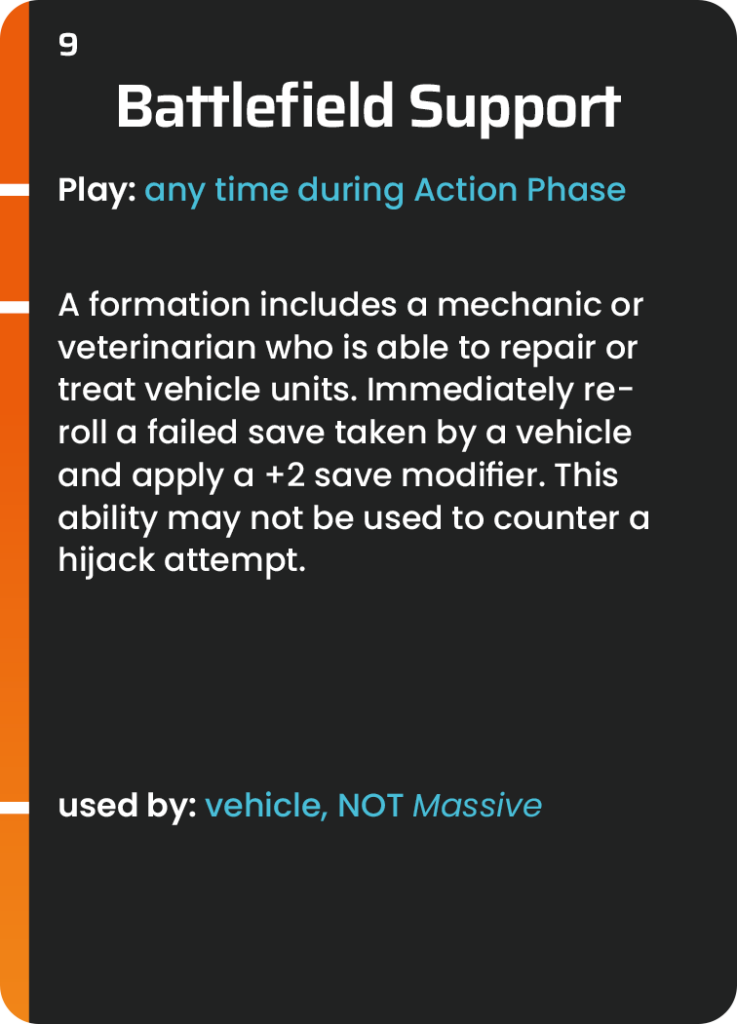
In our example army we have two rather expensive armoured units in the Dominator MBT and Land Skimmer. Since there are no ‘hit points’ or ‘wounds’ for any units in Encounter: Phase One, we need to employ other ways of keeping our expensive unis alive, and the most obvious of these is the Battlefield Support card. A +2 save modifier on a re-rolled save is extremely useful, especially to units with a high Defence value because they will often auto-pass a save with the re-roll.
Card 5: Devastating Combo
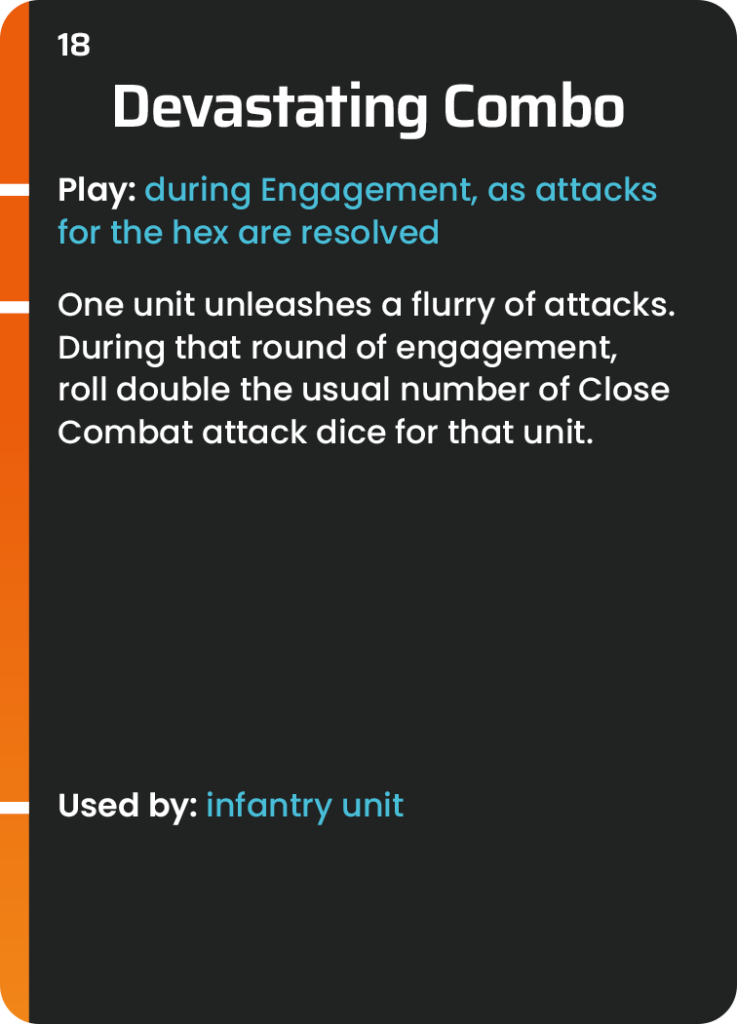
There are plenty of card options we could use for our fifth and final card, but it’s endlessly satisfying to see your Supreme Commander smash some skulls with Devastating Combo! We have already invested in the Dash card to get him up-close with the enemy, so why not capitalise on that investment? It’s pretty straightforward to roll double the number of attack dice, but timing can be key. If you find yourself locked in mortal combat with the enemy commander, a good tactic can be to wait until their supply of Hero Tokens is low, then deal the final, crushing blow. If you find yourself with surplus Hero Tokens or you have built your strategy specifically around eliminating the enemy SC or another valuable enemy unit, you could spend up to 4 tokens to guarantee 4 Strength 5 hits. Of course, you don’t have to use Devastating Combo with your SC; you might feel one of your CQ Marines could make better use of the ability to cut down a specific threat, such as a ranged enemy infantry unit.
Final Thoughts
These cards are just examples of those you might take with the Star Marine army outlined above. There are plenty of alternative strategies you could employ, for example; one of our favourites involves taking Heroic Actions and using it on the Land Skimmer for maximum flanking carnage! Whatever you choose, Battlefield Tactics cards definitely impact your play-style significantly, and will keep your opponent guessing as to what you’re going to do next.
At Gigaton, we have created a useful Army Builder tool to aid you in your discovery. This allows you to play around with units and formations and share them with friends or export them to a print-friendly list for future reference.